Saturday, April 23, 2011

Part one: Project 2 - Stage 3

Saturday 18th April - A sample

I am looking through my work and sketches to find a drawing with strong lines or linear qualities.
From the drawings I select, I will use a viewing frame to isolate part of the drawing.
I am looking for an area which is not too complicated and has lots of variety in the lines.

I have pinned  up both my drawings and my stitching examples from Stages 1 and 2 for inspiration and help in this exercise.

Picture 1:
This was the first drawing that I thought I would look at. It has strong lines and linear qualities - also it is monochromatic - making it easier to look at the lines and textures.
Sketch 1 with strong lines
Using a viewing frame I isolated this area: It has thick lines against thin, broken lines against continuous.
After using a viewing frame to isolate an area
The threads I thought I would use are stranded cottons - I have lots of them in a range of colours.
They can be used as a single or a multiple strand when worked in stitch.
They have a nice sheen.
I felt the area chosen had a calm feel to it.
Sample 1 - Calm
This is the sample I produced based on the area that was identified.
I used 2 shades of blue - a dark and a light - both with 2 strands of thread.
I stitched the dark threads close together vertically.
The light threads were stitched with running stitch - some close together, some far apart, in a horizontal direction.

The sample ended up looking like a seascape.
The light blue stitches 'rippled' like water, the spacing of the stitches gave the picture depth.
The darker blue stitches looked like rocks rising out of the water.

There were no clashes of colour, no dramatic changes of texture
Both the colours used, the type of threads used and the stitches chosen - gave the sample a calm feel to it.

                                         --------------------------------------------

Picture 2:
This was the second drawing that I thought I would look at - it is also monochromatic, has strong lines and linear qualities.
Sketch 2 with strong lines
Using a viewing frame I isolated this area - it has thick lines against thin, broken lines against continuous, and curved against straight.
After using a viewing frame to isolate an area
The threads I thought I would use are stranded cotton and a machine thread - to create different thicknesses.
I am going to use a plain cream background.
The area chosen looks distressed and broken.
Sample 1 - distressed and broken
The machine thread worked well - it was thin and 'spiky'. It also wove between the stitches well to create the curved horizontal lines.
The stitches worked well - lines and crosses created a distressed and broken image - none of the stitches were worked too closely together - no smoothness.
The stranded cotton provided the thicker lines.

Although I liked the sample - it lacked something....so I tried another.
This time using the same threads, slighlty different stitching techniques and a coloured background.
Sample 2 - distressed and broken
I used fabric pastels to colour the fabric - red to represent 'distress'.
The stranded cotton was used first - more stitches were used down the centre than last time - overlapping all the stitches in random directions.
The machine cotton was used over the top - again using long thin lines crossed over each other.

I liked the coloured background, it was a distressed background.
I liked the stitches - they were broken and haphazard.
But it was still very flat.

So I tried a third sample.
Sample 3 - distressed and broken
This is my favourite.
I have used a dark, distressed background - using fabric pastels.
I used 3 types of cream thread - stranded cotton, crochet cotton and cotton perle.
The thinnest thread was worked first in large criss-crossed stitches - then the crochet thread in smaller stitches, finally the cotton perle was worked along the centre.

Overlaying the threads worked well - it gave the area a cross hatched effect - the deepest shade of cream at the centre.
The different types of thread used created more texture.
The stitches were broken and distressed..... it created the look of a crack in a wall with the light shining through.

                                                 ----------------------------------------

Having the drawings and stitching examples pinned up was a great visual reference.
I knew what materials I had from creating the colour bags, without having to search for everything - this reduced the amount of work that needed to be done before starting.

I liked the first sample as soon as i had done it, the way the stitches were placed changed as i worked on it. It was spontaneous and looked good.
The second set of samples became more spontaneous the more I worked on them - maybe I had thought too much before the stitching started - I was happy with the final result though.

Now to create texture in Stage 4!
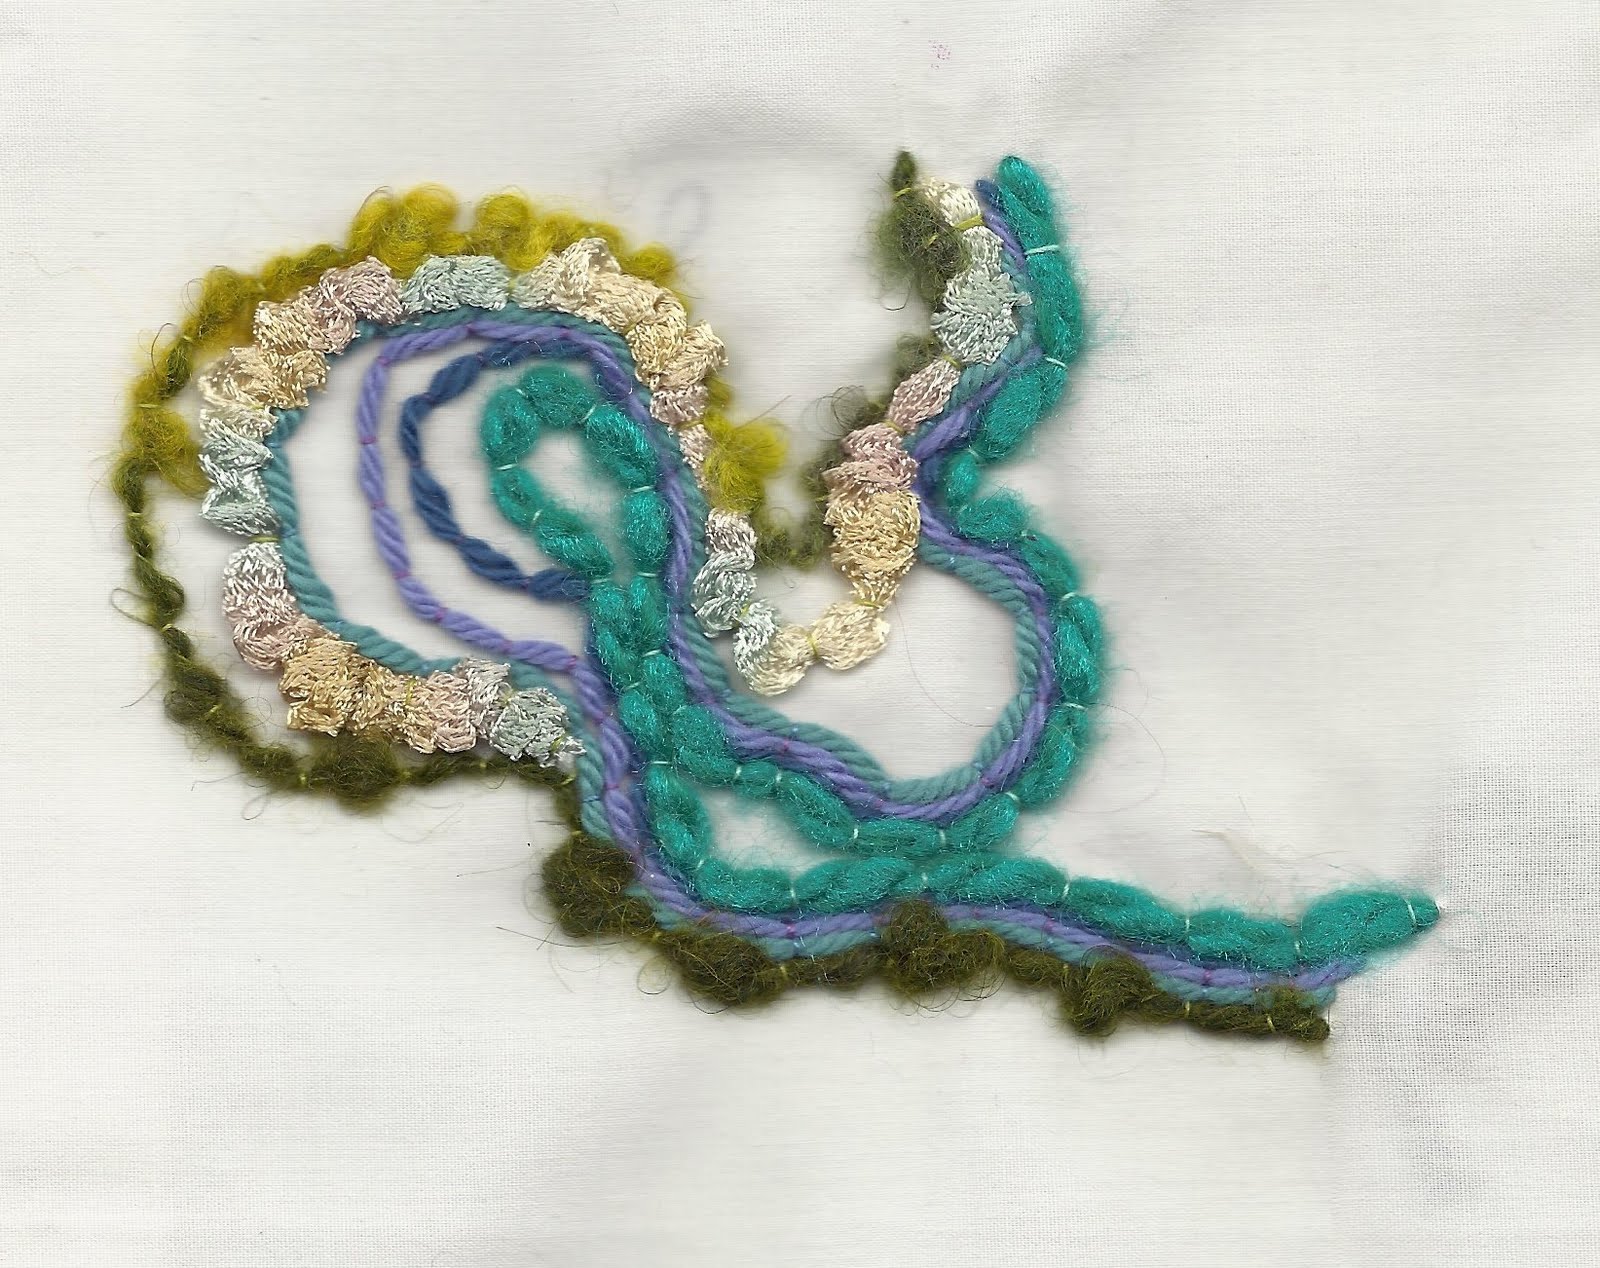
                                     --------------------------------------------------------

The finished pages:
Stitch sample developed from a sketch

More finished samples
                                     -------------------------------------------------------------

Part One: Project 2 - Stage 2

Friday 15th April: Exploring Marks and Lines through Stitch Techniques

This stage is to explore the different effects that can be created with stitch.

I am going to use a limited pallette of colours and a plain cream background fabric, so that the effects the stitches produce will show up best.

I will use hand stitch using a range of line stitches eg. running, stem, back, chain stitch, etc.

                                            ----------------------------------------------------

Sample 1:
Sample 1
Sample 1 shows running stitch created using 1 strand of dark brown cotton thread.
I started stitching the lines far apart and gradually the lines became closer together.
The colour intensified as the stitches were placed closer together.

                                          ------------------------------------------------------

Sample 2:
Sample 2
Sample 2 shows running stitch produced with 2 strands of cotton.
The lines were stitched further apart, then closer together - this time with a less regular pattern.
Again, the closer the stitches were together the darker the colour of the thread appears.

                                          ------------------------------------------------------

Sample 3:
Sample 3
 Sample 3 shows running stitch with 2 strands of cotton thread and couching with soft cotton thread. I used another organised sequence - the fewer lines of soft cotton used, the more lines of stranded cotton were stitched. The couching was placed at irregular intervals.
This produced a nice contrast when the matt threads were placed next to the shiny threads.

                                       --------------------------------------------------------

Sample 4:
Sample 4
Sample 4 shows running and back stitches using a soft cotton thread.
The stitches cross over each other and also are placed close together, then further apart.
Rich textures were produced by overlapping the stitches and placing the stitches close together.

                                         -------------------------------------------------------

Sample 5:
Sample 5
Sample 5 shows satin stitch worked in cotton perle threads.
The stitches were worked in opposite directions.
The colour of the stitches appears darker when stitched horizontally and lighter when stitched vertically.

                                               -----------------------------------------------

Sample 6:
Sample 6
Sample 6 is satin stitch worked in 2 strands of cotton.
The effect produced is the same as sample 5: Colour of stitches appears darker when worked horizontally.

                                              -------------------------------------------------

Sample 7:
Sample 7
This sample shows random small running stitches worked in cotton perle.
A nice texture is produced when the stitches are worked in random directions.
The stitches appear darker and lighter depending on how the light catches them.

                                               ----------------------------------------------------

Sample 8:
Sample 8
Sample 8 shows 2 rows of chain stitch worked in a soft cotton thread.
The chain stitch produced was full of texture when worked in soft cotton rather than a stranded cotton.

                                              ----------------------------------------------------

Sample 9:
Sample 9
Sample 9 has chain stitch and running stitch worked 2 strands of cotton.
The stranded cotton produced a nice flowing, circular line.
As the stitches were worked close together, the colour became darker.

                                        -------------------------------------------------------

Sample 10:
Sample 10
Sample 10 shows stem stitch worked in soft cotton thread.
The stitches formed a spiral.
The stitches are textural and distinct due to being worked in a soft cotton thread.

                                         -------------------------------------------------------

Sample 11:
Sample 11
Sample 11 shows running stitch worked in both soft cotton and cotton perle threads.
The stitches were worked in a spiral.
The running stitch did not work as well as the chain and stem stitches when creating curved lines, possibly due to the thickness of the threads used.
There was a nice contrast between the matt and the shiny threads when worked close together.

                                            -------------------------------------------------

Sample 12:
Sample 12
Sample 12 shows randomly placed cross stitches worked in stranded cotton, cotton perle and soft cotton threads.
When the stitches were worked close together the colours appear darker.
The stitches overlap producing alot of texture.
The use of different types of threads creates alot of contrast.

                                               -----------------------------------------------------

I enjoyed producing these samples.

The limited pallette of thread colours helped identify the changes that happened when stitching. Sometimes the colours used distracts your eye.

There was such a difference in the look of each stitch when worked in a thin thread and then a thick one. I really liked the samples where the colours of thread changed due to the direction in which they were stitched.

This is possibly just a fraction of samples that could have been produced to explore marks and lines in stitch techniques - it will have to be an ongoing record. As I come across more effects, I will have to store them in a sketchbook.

Hopefully, this stage will help me with Stage 3 when I have to produce a sample from one of my drawings in stitch.
The finished sampler
                                                   -----------------------------------------

 The finished page:
Sampler with notes
                                          -------------------------------------------------------

Monday, April 18, 2011

Part One: Project 2 - an introduction. Stage 1

Friday 8th April - Developing Marks into Stitching and making Textures.

I am really looking forward to starting Project 2, I love stitching, I love fabrics and I love to experiment.

I've read through most of the chapter.....and I am hoping I will be able to be as experimental as I was in the first project. Will it be harder to translate my sketches into stitch once an embroidery hoop is in my hand?

My Great Grandmothers Pearsall's Silks
I came across my Great Grandmother's collection of silk threads when I was quite young.... I just fell in love with the beautiful colours, the incredible sheen, the softness of the thread. I take the threads out every now and then....

My Mum's sampler from school
I still have this book - it has stitching examples of all kinds in it, from the embroidery above to putting a placket in a skirt. What a fantastic resource to have made at school.

These are the things that I loved to look at when I was little, they inspired me to stitch and to make.

                                       ---------------------------------------------------------

Stage 1 - Preparation

Stage 1 is about preparing for the next few exercises.

I will need visual information: I have selected some of the pen and ink exercises created in the first project. They are limited in colour and have variety of marks used within them.

Fabrics: I have decided to keep to a neutral background initially. I am going to use calico, linen and sheeting to start off with.

Threads: I will keep to a simple colour range at the beginning, I have a selection of stranded cottons, crochet cotton, cotton perle and some wool threads.

I will collect and create the colour bags as I work through the project... I know I own these items (beads, more fabrics, more threads, etc) but where they are...?
I also plan to have a dyeing day - this will be time well spent and will create a good range of colours for my thread and fabric collections.

I do have my sewing equipment ready, and I plan to use hand stitching for the majority of these exercises. I enjoy machine embroidery, but I think I would like to keep the exercises simple to start off with.

Some of the threads I will use
This is a visual record of some of the threads in my collection - some I only have a small amount of, like Fils-A-Dentelles - others, like stranded cotton, I have a lot of and it is relatively easy to buy.

I am armed with 2 of my favourite books: Stitch Dictionary - Lucinda Ganderton (published by Dorling Kindersley), and Complete Guide to Needlework (published by Readers Digest), and of course the OCA instructions for the individual stitches.

My first stitch sampler
I thought I would start off sewing in nice neat lines!
I created (from left to right) running stitch, threaded back stitch, chain stitch, herringbone, closed cretan stitch, basic feather stitch, french knots, pekinese stitch, feathered chain stitch, magic chain stitch and lazy daisy.
I used a finen linen fabric background, stranded cotton and soft cotton threads.

I really enjoyed doing this, I sat with the hoop on my knee, cup of tea nearby and a good film on tv!
My second stitch sampler
I then used a coarser linen fabric and some variegated threads, crochet cotton and bulky rayon thread.
With a less formal approach (ie. no lines!) I practiced some more of the basic stitches: running, satin, chain, stem, herringbone, seed, cross, open and closed cretan, blanket, couching, french knots. As well as a few more: bullion knot, fly, sheaf, raised needle weaving, wave and a buttonhole wheel.

It was nice to see how the variegated threads worked when using the different stitches, and good to try out some of the stitches I hadn't used in a long time. A good record of stitches to keep.
A sample of textures
This sampler I really enjoyed creating. I used fine linen to stitch on and sheeting underneath. The threads were a soft cotton, cotton perle, silk thread and a stranded cotton. The colours: all cream so that the textures showed up.
Stitches: Spiders webs - woven and ribbed; Raised chain band; Needle weaving - the rabbit ears!; Buttohole stitch - this grew and grew, layer after layer of stitches - resulting in something that resembled the centre of a daffodil: and  a plastic curtain ring was sandwiched and stitched between the 2 layers of fabric and then filled with french knots.

A sample of couching
The fabric base was sheeting, the threads a range of wools, soft cottons and knitting ribbon.
I used a simple organic shape and held the threads down with a basic sewing thread in coordinating colours.
It was nice to sew with such a range of textures in the threads - all threads which could not be used for conventional stitching because of their thickness.

Canvas work sampler
I had some plastic canvas and a range of tapestry threads so I created this sampler - any of these stitches would work well on canvas and loosely woven fabrics.
The stitches used were:
(top) French; Fir/leaf; Norwich waffle; Rya; Mosaic and Web
(middle) Rhodes; Dbl Leviathan; Rice; Star; Dbl Cross; Rice; Interlaced Cross; Leviathan.
(bottom) Broad Cross; Cross corner; Tent; Cross.

Another enjoyable few hours with a needle and thread in hand - and a great record to keep for the future. All samples have keys for cross referencing in my notes.

I feel I am ready to face the challenges of the project - I think the preparation done helps to prepare you for work. It takes away some of the fears, the starting part is the hard part.

I have learnt how to create the stitches.
I know which ones will create a good outline - running, back, stem and chain.
I know which ones fill in areas quickly - satin, buttonhole, couching and Cretan.
I know which ones are good for texture - French and Bullion knots, couching and Blanket.

These samplers were created over a few days, I am hoping it was time well spent and that the next few exercises will be easier as a result!
                                                        --------------------------------

The finished pages:
Stitch and Thread sampler
Further Stitch Samples
Canvas work and Couching Samples
                                               ------------------------------------------------

Wednesday, April 13, 2011

Part One: Project 1 - What have I achieved

Wednesday 6th April - What have I achieved?

I am sitting surrounded by my work....there's alot of it!

I have inserted photographs where they were missing throughout this log - it makes it a lot more interesting to read through.

I have added to, or corrected my notes - they make more sense now.

But what have I achieved? I should be able to answer this by addressing the questions in the course book.

Have you ever thought about drawing in this way before?
Yes, but I forget to continue working in this way. I forget to develop and change from my initial work - so I end up with a drawer of pictures that rarely see the light of day.
This way of approaching drawing by mark making is more spontaneous and inventive - it could not be reproduced.
It is a more enjoyable creative process.

Were you able to be inventive about the range of marks you made?
Yes, but even with all the samples I made, I feel it is still just a work in progress. There must be many different ways to create marks, that I can only assume there are many more sketch books to fill with the results.
I did enjoy the freedom to make these marks... there is no wrong way. To record them in a log means that they will always be there to refer to.

Were you able to explore a wide range of media?
Yes, I have cupboards full of different art materials - it was nice to get them out to use in these exercises. It was good to have a purpose to creating and experimenting with them.

Are you pleased with what you have done? Do you think it will help you approach drawing more confidently?
Yes, I am pleased with the work that I have done. I enjoyed the whole creative process.
I liked the fact that I was producing samples - which are not only a useful reference, but, they didn't have to be 'good' or 'bad' - they were there to record textures, marks, colour, etc.
I think it will make my approach to drawing more confident - it has made me think more about the effect I want to produce with the marks, materials and media I choose.

Which way of working did you enjoy most?
I think I found making marks in response to an image my favourite.
Although, I look at the work and I like the pieces that I made in response to working from an object.
I had to think harder and experiment more - concentrating on the marks made, not trying to recreate a picture.

Which media did you most enjoy working with?
I have always enjoyed working with soft pastels, but I really enjoyed the mark making possibilites that there are with printing.
The results are unpredictable, it's a fun process and you are not restricted to using 'proper' materials. Although you can print with lino, buy printing blocks etc, you can achieve great results with bottle tops, bubble wrap, etc.

I think mark making will be an ongoing project. I can't think of any other technique that I'd like to try - just to work on and explore the ones that have been started in these experiments.
Also to continue keeping a reference to any new techniques that I discover in sketchbooks.

Do you have ideas about how this work will enrich your textile work in the future?
I think the work done over project one will enrich my future textile work.
By starting with the mark making process and developing my work, it should be more spontaneous and interesting.
By asking questions and trying out different techniques the process will be more informed.
This should lead to a truly unique and interesting textile piece.

At the moment I am looking forward to starting Project 2.... but will it be harder than Project 1?

Thursday, April 7, 2011

Part One: Project 1 - Stage 4

Friday April 1st 2011 - Stage 4: Making marks - working from your sketchbook.

Time has passed since my last pieces of work were completed..... I started teaching in school, I went to India, I had an operation on my hand.
Things just got in the way! I was finally unable to multi-task and be everything to everyone.

I am now working less hours - now working in a ladies arts centre here in Saudi Arabia, just a few sessions a week. I have been able to spend more time with my family and finally, felt able to restart my course work.

I have been to art exhibitions, read (and bought!) lots of new art and textile books and have been filling up some sketchbooks....more about those later.

I started reading up on the stage 4 ...and was initially confused. Everytime I thought about starting, I looked at the exercise in a different way. Finally - I just got down to it.

Looking at Stage 3 - we started working from photographs. Then the next stage was to work from real objects. Stage 4 was to work in a similar, textural way from our sketchbooks.

I chose 3 pictures - and, using a viewing frame - isolated areas from each that had some interesting textures. I plan to create sketches from these each using a different technique or media.

Arabic basket: These are beautiful objects - made by arabic women, from palm leaves. The strips of leaves are gathered together in one hand and stitched (almost like couching) together to form a very strong, usable basket. The colours and styles are amazing.
Sketch of arabic basket from the top and the side
Concentrating on the patterns created by the placing of the colours - I decided to tackle this with printing.
I made a printing block by glueing a square of foam onto a pencil.
By dipping this into the different colours of acrylic paint, I created this:

Arabic basket - printing produced from sketch
Having produced this textural sketch - I can now see the potential for taking "arabic baskets" further:
I would like to experiment with different joining techniques.
Look at creating fragments of cloth.
Investigate the history and the different ways the baskets are made.
The finished page:
Finished page - Arabic baskets

Landscape sketch: This was drawn while we were on a trip to South Africa last April.

Moholoholo, South Africa
I isolated part of the sketch using a viewing frame.
I chose part of the sketch that depicted the tangled foliage that appears to hang down towards the ground.
Tangled undergrowth
Using a stencil, coloured inks and a sponge - I created 2 sketches to represent the image.

Sketch 1: repeated stencils of part of the image. Using yellow, green and turquoise inks.

Sketch 1
I was a little disappointed by the finished product. I had repeated the image so the pictures were 'tangled' - but it didn't 'tangle' when the inks were dry.
This was possibly due to the colours being too similar to each other - if a darker blue, rather than turquoise, had been used - the effect might have been better.

Sketch 2: repeated stencils of part of the image. Using yellow and green ink.

Sketch 2
This turned out better. Less repeats worked better.
The work shows the changes in colour.
Further work:
I would like to try this using screen printing.
Overlaid sheer fabrics may work well.
The finished page:
Stencilled sketch - South African landscape

Landscape sketch: Using the same South African sketch:

Moholoholo, South Africa
 I isolated a different part of the sketch.
I chose part of the sketch, the tree trunk, that had lots of texture.
It has lots of cross hatching.
Tree trunk
Using Quink ink, bleach, a paint brush and implements to scratch into the surface, I created 3 sketches.

Sketch 1: Using ink and bleach:
Ink and bleach 1
This was the first attempt - too much bleach was added. Either the ink was too wet, so the bleach 'bled' into it too quickly. Or the bleach should have been watered down a little more.
Also - I applied the bleach with a reasonably large brush, maybe a smaller one would have been better.

Sketch 2: Using ink and bleach:

Ink and bleach 2
I like this one more.
I used a smaller brush.
I let the ink dry slightly before I applied the bleach.
I continued to scratch into the surface as it was drying - this added some ink lines back into the bleached areas.

Sketch 3: Using ink and bleach:
Ink and bleach 3
This one depicts the sketch more - the lines have a cross hatched effect, and they aren't uniform in size or shape.
The lines were scratched with bleach using the metal edge of a pallette knife, so the bleach did not flow as far as before.
Further work:
I would like to try discharge techniques on dyed fabric.
Burnt edges of fabrics overlaid.
The finished page:
Ink and bleach South African landscape

Landscape sketch: This one was drawn in the summer in England. It has some really nice marks made from a mapping pen and ink.I also like the different greens that appear from the overlaid washes of watercolour.

England in the summer
I isolated part of the sketch that had some interesting textural marks and shapes:

Sketch through a viewing frame
I created a collage from this using: newspaper, tissue paper, watercolour, reed pens and ink.
Collage
This is my favourite of the texture exercises - I was able to just keep adding and painting!
I would really like to take this further - the variety of fabrics, papers, stitches that could be used to work on this sketch, is endless.
The finished page:

Finished page - English landscape
In conclusion: This was a great exercise - once I started!
A sketch is just that - it's not a finished piece of work - just a starting point.
Follow the direction the sketch takes you. Try out different techniques and mediums.
Make notes of your thoughts - you may come back to them later.
Be organised! Gather your materials - that way you can try out different ways of working without having to find everything.
The last point is one I'm still working on.........!