I spent yesterday collecting as wide a range of papers as I could find........
Newsprint, white paper bag, lining paper, envelopes, papyrus, coloured & white tissue paper, brown paper bag, newspaper, handmade paper, acetate, tracing paper, watercolour paper, sugar paper and foils.
I am endeavouring to try out a range of media and tools on these papers, seeing what marks will be created on the different surfaces.
Also hoping that I will be able to get to the stage of making marks in relation to the words. I'll see how much I can get done in this session.
Acrylic paint / foil: Acrylic paint applied to the surface of foil, drawn into with the end of a paintbrush.
 |
| Foil , acrylic paint |
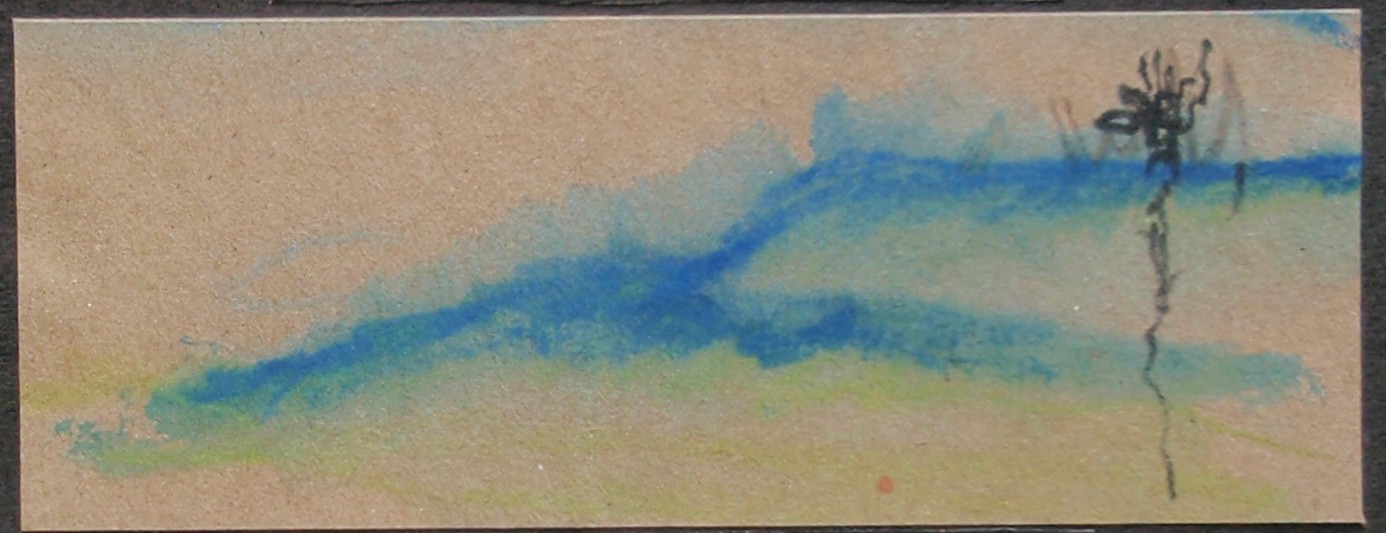
Watercolour pencil / newsprint: Watercolour pencils coloured onto the dry paper and water added. Then drawn onto the wet surface again.
 |
| newsprint, watercolour pencils |
Pencil crayon / tissue paper: Pencil crayon drawn onto the surface of the tissue paper.
 |
| Tissue paper, pencil crayon |
Wax crayon / lining paper: scribbling
 |
| lining paper, wax crayon |
Wax crayon / papyrus: colouring the paper
 |
| papyrus paper, wax crayon |
Pencil crayon / papyrus: drawing on the surface.
 |
| papyrus paper, pancil crayon |
Pencil crayon / thick brown paper: colouring
 |
| Thick brown paper, pencil crayon |
Ink / white paper bag: Ink applied with a stick
 |
| White paper bag, ink |
Ink / lining paper: splatter
 |
| Lining paper, ink |
Ink / newspaper: Ink painted onto the surface of the paper.
 |
| Newspaper, ink |
Ink / papyrus: Ink painted in lines on the papyrus paper.
 |
| Papyrus paper, ink |
Watercolour pencil / cartridge paper: pencils were used dry on the surface and then brushed with water.
 |
| Cartridge paper 120gsm, watercolour pencils |
Watercolour pencil / thick brown paper: Pencils drawn onto brown paper
 |
| Thick brown paper, watercolour pencils |
Ink / thin white paper: Ink applied with a stick.
 |
| Thin white paper, ink |
Acrylic paint / tissue paper: Undiluted acrylic paint brushed onto tissue.
 |
| Tissue paper, acrylic paint |
Acrylic paint / acetate: Acrylic paint splattered onto the surface of acetate.
 |
| Acetate, acrylic paint |
Acrylic paint / acetate: Paint stippled and scratched on acetate.
 |
| Acetate, acrylic paint |
 |
| Newsprint, acrylic paint |
Handmade paper / acrylic paint: Washes of dilute acrylic paint applied to surface
 |
| Handmade paper, acrylic paint |
Acrylic paint / lining paper: Dilute acrylic painted onto lining paper - complementary colour drawn onto the wet surface.
 |
| Lining paper, acrylic paint |
Acrylic paint / white paper bag: Dilute acrylic brushed onto surface of the paper.
 |
| White paper bag, acylic paint |
Acrylic paint / white paper bag: Undilute acrylic paint brushed onto surface of the paper.
 |
| White paper bag, acrylic paint |
Wax crayon / white paper bag: Using wax resist.
 |
| White paper bag, acrylic paint |
Acrylic paint / papyrus: Undilute acrylic brushed onto surface of the papyrus.
 |
| Papyrus paper, acrylic paint |
Soft pastel / lining paper: scribbling with pastel.
 |
| Lining paper, soft pastel |
Soft pastel / envelope: Pastel drawn onto the inside of an envelope.
 |
| Envelope, soft pastel |
Soft pastel / envelope: Pastel drawn on the outside of the envelope.
 |
| Envelope, soft pastel |
Soft pastel / envelope: Pastel drawn onto surface of envelope.
 |
| Envelope, soft pastel |
Acrylic paint / tracing paper: painting dilute acrylic on tracing paper.
 |
| Tracing paper, acrylic paint |
Felt pen / newsprint: Scribbled.
 |
| Newsprint, felt pen |
Felt pen / tracing paper: Drawn onto the surface.
 |
| Tracing paper, felt pen |
Charcoal / brown paper bag: scrumpled bag drawn on with chunky charcoal.
 |
| Brown paper bag, charcoal |
Soft pastel / brown paper bag: Scrumpled bag drawn on with soft pastel.
 |
| Brown paper bag, soft pastel |
Soft pastel / handmade paper: Soft pastel drawn onto the handmade paper.
 |
| Handmade paper, soft pastel |
Unfortunately requires alot of fixative, or it may smudge and be rubbed off the surface.
Soft pastel / newspaper: Soft pastel drawn onto newspaper.
 |
| Newspaper, soft pastel |
Not many layers of pastel could be used due to the smooth finish on the paper.
Soft pastel / papyrus: drawn onto surface of the papyrus.
 |
| Papyrus, soft pastel |
Oil pastel / corrugated cardboard: Pastel was drawn onto surface of the cardboard.
 |
| Corrugated card, oil pastel |
----------------------------------------------
I managed to use all the papers with all the media I had in front of me. I created an enormous mess but feel I am closer to 'knowing' my materials than I was before I started the exercise.
I hadn't used some of the papers before - like papyrus - so I was very interested in these results. Felt tips worked beautifully on this surface, as did watered down acrylic paint and pencil crayon. The texture of the paper helped achieve a great depth of colour in the pencil crayon - lots of 'bite'. Also when used with inks - the surface texture showed through.
Sometimes a technique didn't appear to 'work' - handmade paper with very wet acrylic paint for example, produced a wet soggy unmanageable piece of paper. When it had dried however - the colours of the paint were clear and bright, the grain of the paper showed through - this was a nice effect.
All of the effects tried out produced a good result - it is my reference table for future projects now, and can always be added to.
Having finished this stage I am now looking at all my work spread out across the floor, wondering which word is best described by which technique, which media, which paper. I am going to jot down some ideas and compare the ideas with my finished exercise.
I would love to skip straight to exercise 4 at this stage - but somehow I know it will be harder to come back to this part later.
Conclusion - should have set my timer tonight - feel exhausted and know that tomorrow I still have to tackle the words. If I had had all the materials in the last session I would have saved alot of time - and enjoyed this part more. Although I have produced an awful lot of samples by spending the extra time.... so maybe the extra time was well spent?
Some of the finished pages from this exercise:
 |
| Finished page showing a range of marks |
 |
| Finished page showing a range of marks |
 |
| finished page showing a range of marks |
 |
| Finished page showing a range of marks |
No comments:
Post a Comment