Saturday 28th August... making marks
I have bought new stationery, re-organised my work-space, put dividers in my course folder.....and now to work!
I decided to stick to the 'dry' exercises, rather than gather ALL materials needed for the whole project. I know that if I'm not careful, no work will ever get done!
In front of me are - collection of pencils, my stencil, some A4 paper, and the course folder.
Exercise 1 -
Making marks in an expressive way - using words
Working through the exercise given, and the words 'fast', 'slow', 'hard', etc, I discover a better knowledge of my materials and their capacity to make marks.
Fast: Using quick, wrist flicking movements with a sharp 2H pencil made hard, quick, fine lines.
 |
| Fast movements - 2H pencil |
Slow: Using a firm grip on a 9B pencil made slow, steady lines. I used even horizontal spacing.
 |
| Slow movements - 9B pencil |
Hard: Using a firm grip on an F grade pencil and hard, jabbing movements - produced small, hard, dotted lines.
 |
| Hard lines - F pencil |
Sharp: Using an HB pencil, which is darker than the 'H' grades, and a firm hold, produced long, pointy, sharp lines.
 |
| Sharp lines - HB pencil |
Soft: Using a nice, soft, dark pencil on its side produced a lovely soft line.
 |
| Soft lines - 6B pencil |
Delicate: Using a soft B pencil and a light grip produced soft, delicate lines
 |
| Delicate lines - 4B |
Bumpy: Using a B pencil and a firm grip, I drew horizontal lines that bumped along.
 |
| Bumpy lines - B pencil |
Smooth: With a 2B pencil held on its side, I drew vertical, smooth lines in varying directions.
 |
| Smooth lines - 2B pencil |
Sensuous: Using an 8B pencil, I produced soft and curvy lines by holding the pencil at an angle. This created a nice, natural line.
 |
| Sensuous lines - 8B pencil |
Sad: Using a 2H pencil produced a harder, lighter line. I pressed hard with the pencil at the start of the line and then used less pressure, almost 'letting go' at the bottom of the line.
 |
| Sad lines - 2H pencil. |
Happy: With a 7B pencil, I created 'smiley', curvy, dark lines. The pencil was held firmly and then the line was finished with a flick of the wrist.
 |
| Happy lines - 7B pencil |
Anger: With a 3B pencil, I pressed hard and scribbled with jagged motions.
 |
| Angry lines - 3B pencil |
It was a nice exercise that seemed to make more sense as you worked through it - your emotions reflected in the motion and marks made by the pencil - A light grip with a flowing pencil line was easier to make, and more pleasurable than a firm grip with sharp, jagged pencil lines.
Exercise 1 - the finished pages:
 |
| Fast, Slow, hard, sharp, soft and delicate marks |
 |
| Bumpy, smooth, sensuous, sad, happy and angry marks |
Exercise 2 -
Making marks in an expressive way - creating different areas of tone
I think this should be re-named 'getting to know your pencil, compare and contrast' !!
I worked through this exercise, getting tones from very dark to very light. I achieved this by using different ways of holding the pencil, and different ways of making marks.
2H pencil: Cross hatching: hard, firm lines crossed over each other repeatedly.
It was very hard to produce a really dark tone with this pencil.
 |
| Cross Hatching - 2H pencil |
2B pencil: Single direction lines: darkness built up by pressing harder with the pencil.
Interesting effects produced when the lines overlapped each other.
 |
| Single direction lines - 2B pencil |
4B pencil: Dots: I used a firm, upright grip on the pencil. The amount and intensity of the dots gradually built up to produce a darker area.
 |
| Dotty - 4B pencil |
5B pencil: Squiggles: I held the pencil lightly to achieve the lightest tone, and firmly to achieve the darkest tone.
 |
| Squiggly - 5B pencil |
7B pencil: Vertical lines: long, soft lines, drawn in the same direction. The length of the line was gradually reduced while, at the same time, the pressure on the pencil was increased.
 |
| Vertical lines - 7B pencil |
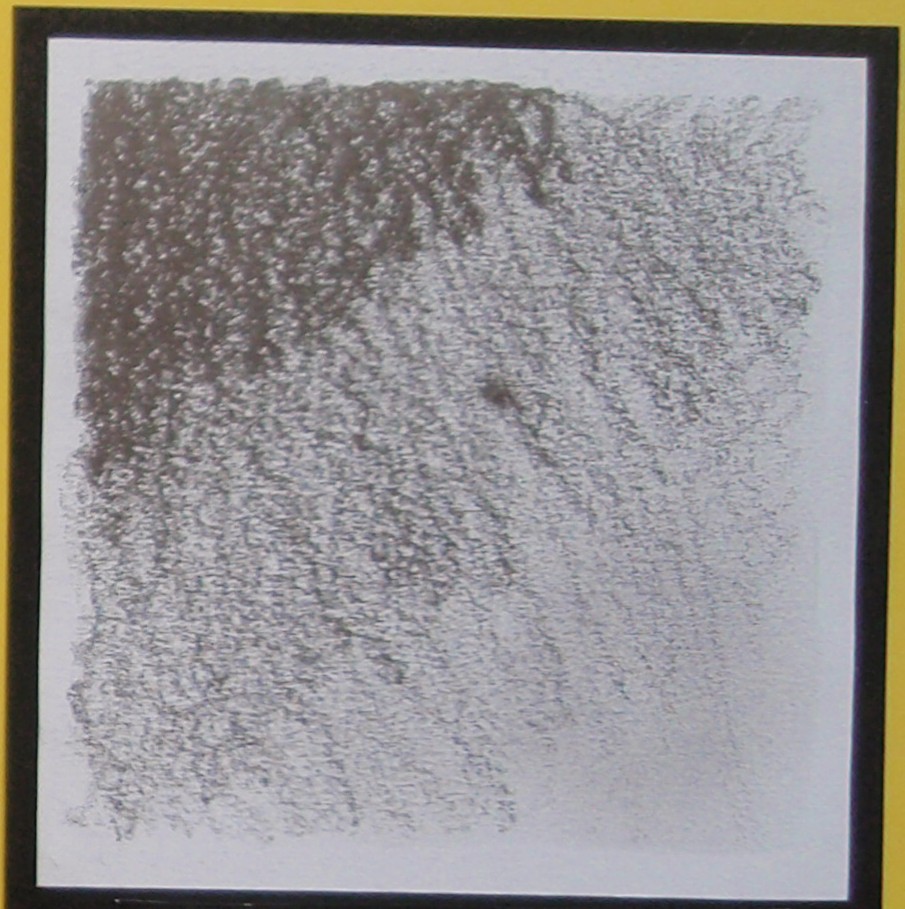
9B pencil: Soft shading: using the pencil on its side. Heavy pressure on the pencil achieves the darkest tones.
 |
| Soft shading - 9B pencil |
I used cross hatching with the hardest pencil I had, '2H', squiggles with a medium range pencil, a '5B', and soft shading with the softest pencil I had, a '9B'. I used a different technique with all the pencils in my collection.
I felt this was a really good exercise in pencil control, it enabled you to control the lights and darks, especially when working within a frame. I think this exercise will come in very handy when working my way through the forthcoming projects!
Exercise 2 - The finished page:
 |
| Different areas of tone - using a range of pencils |
Conclusion for today - I feel much better for making a start!


No comments:
Post a Comment